
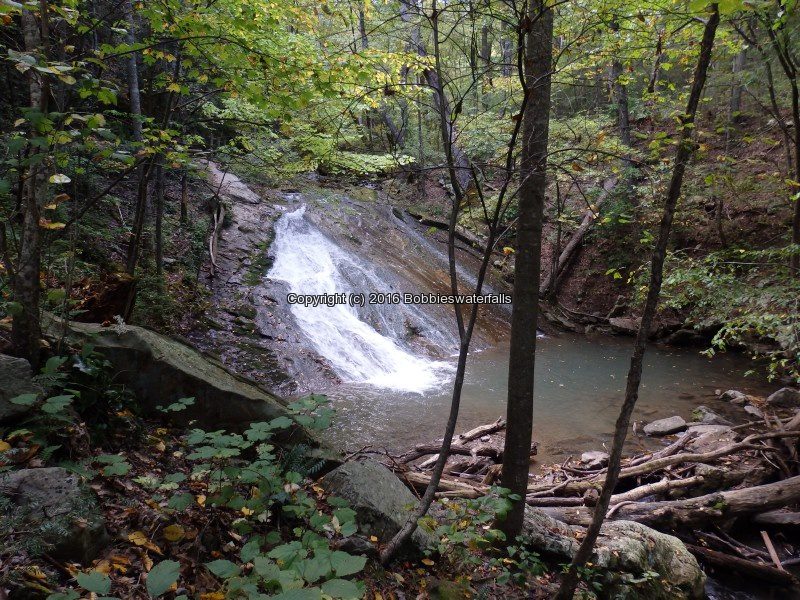
Roaring Run 1st Bridge to 2nd Bridge_00001.JPG (Bobbie Sweeting)


Roaring Run 1st Bridge to 2nd Bridge_00002.JPG (Bobbie Sweeting)

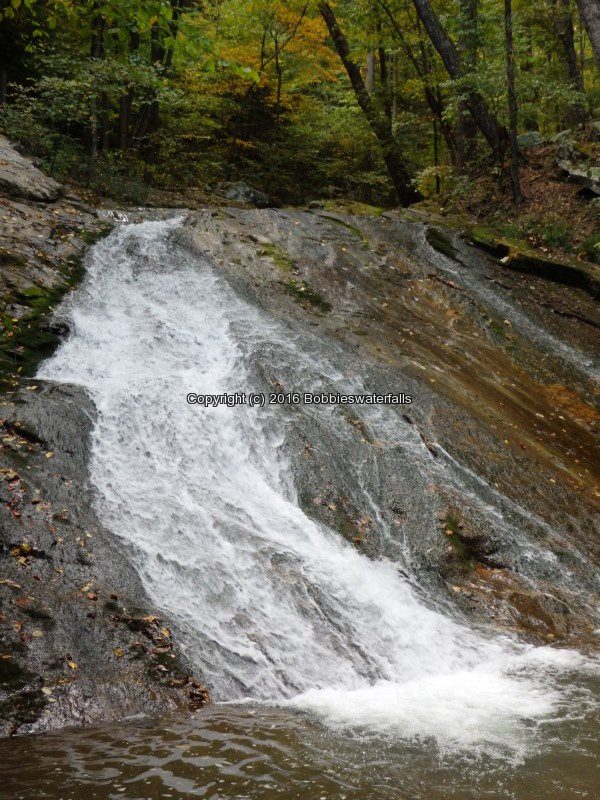
Roaring Run 1st Bridge to 2nd Bridge_00003.JPG (Bobbie Sweeting)


Roaring Run 1st Bridge to 2nd Bridge_00004.JPG (Bobbie Sweeting)

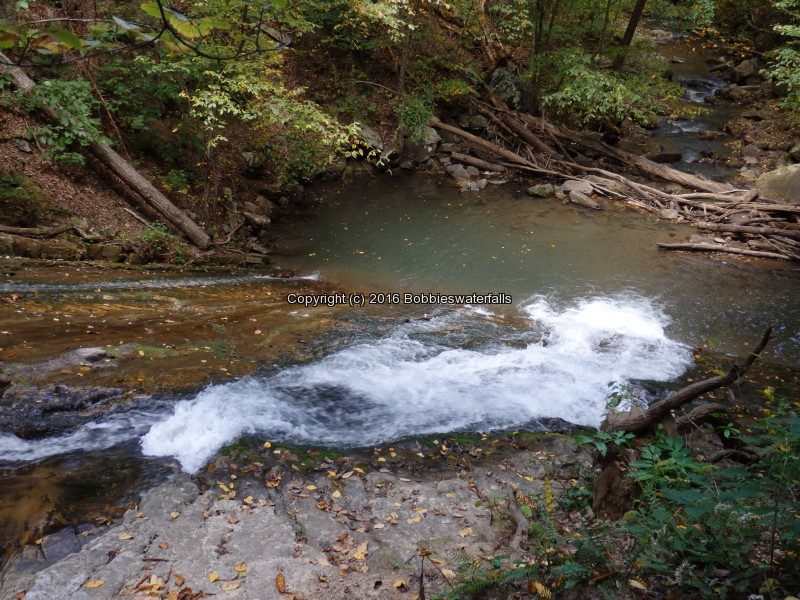
Roaring Run 1st Bridge to 2nd Bridge_00005.JPG (Bobbie Sweeting)

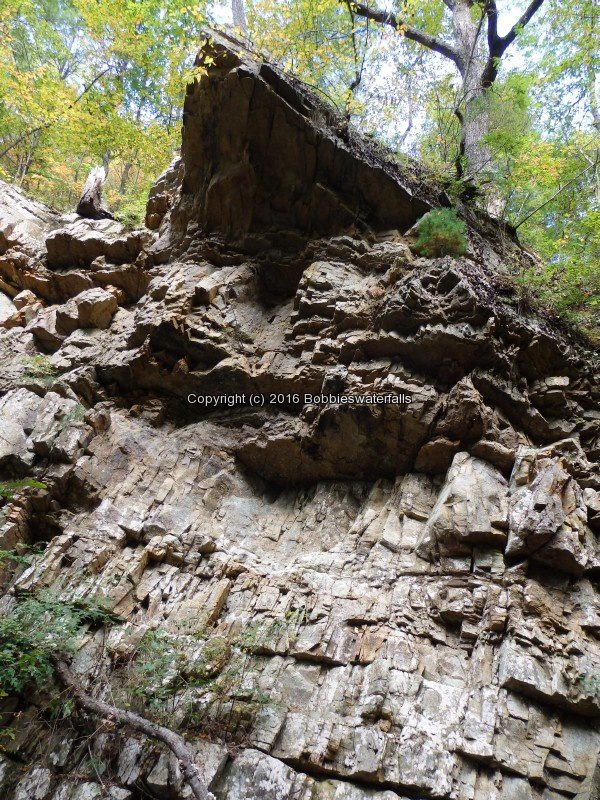
Roaring Run 1st Bridge to 2nd Bridge_00006.JPG (Bobbie Sweeting)

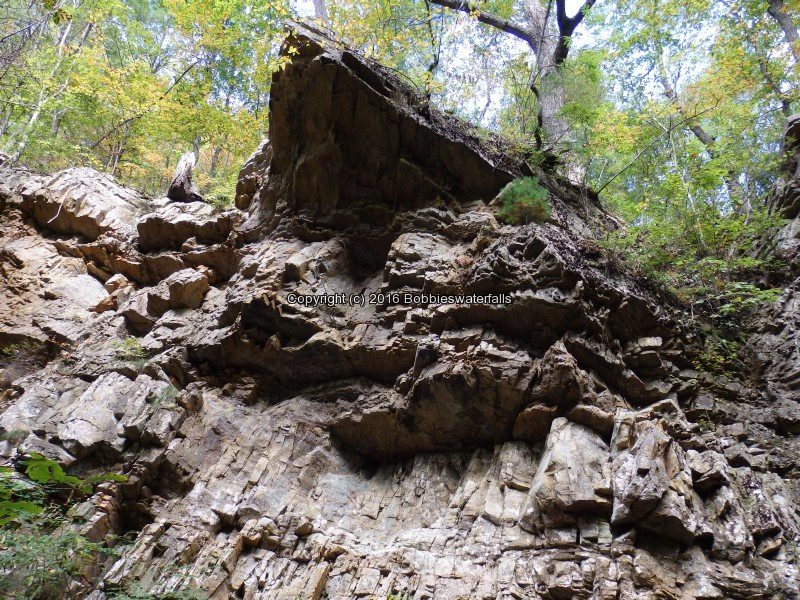
Roaring Run 1st Bridge to 2nd Bridge_00007.JPG (Bobbie Sweeting)

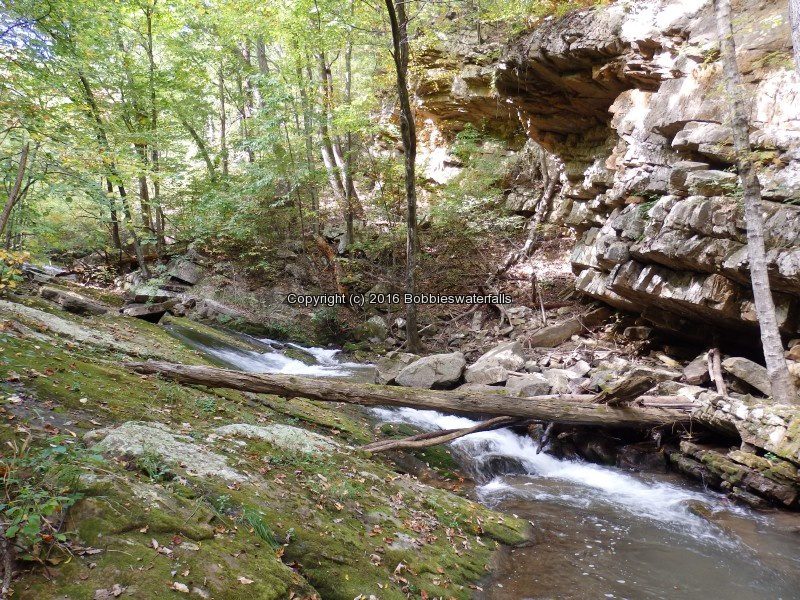
Roaring Run 1st Bridge to 2nd Bridge_00008.JPG (Bobbie Sweeting)

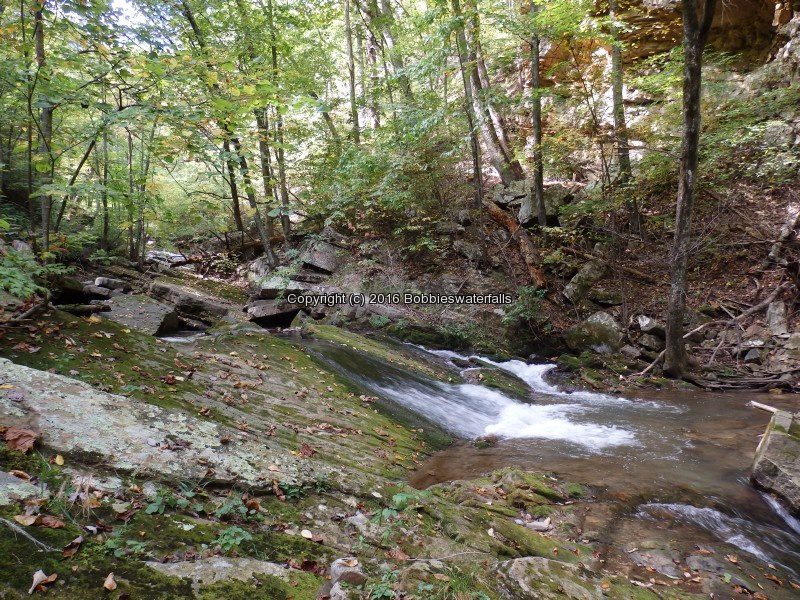
Roaring Run 1st Bridge to 2nd Bridge_00009.JPG (Bobbie Sweeting)

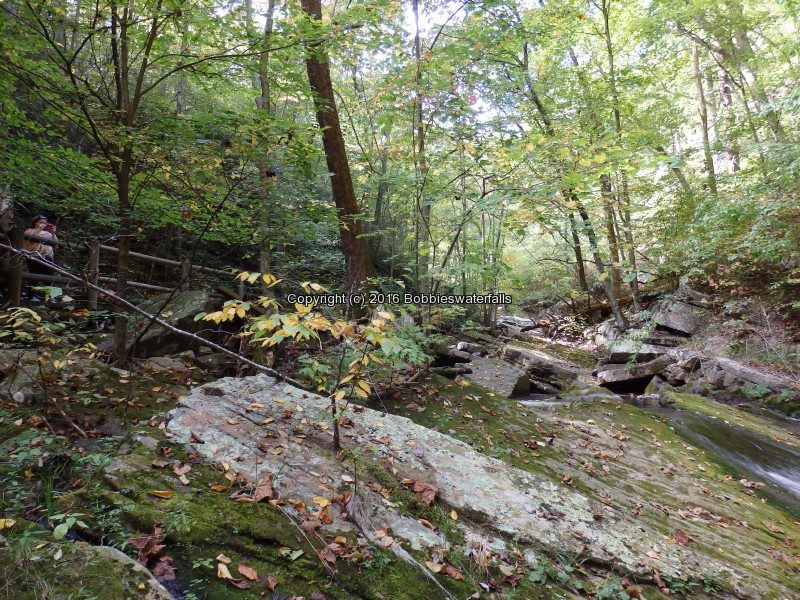
Roaring Run 1st Bridge to 2nd Bridge_00010.JPG (Bobbie Sweeting)

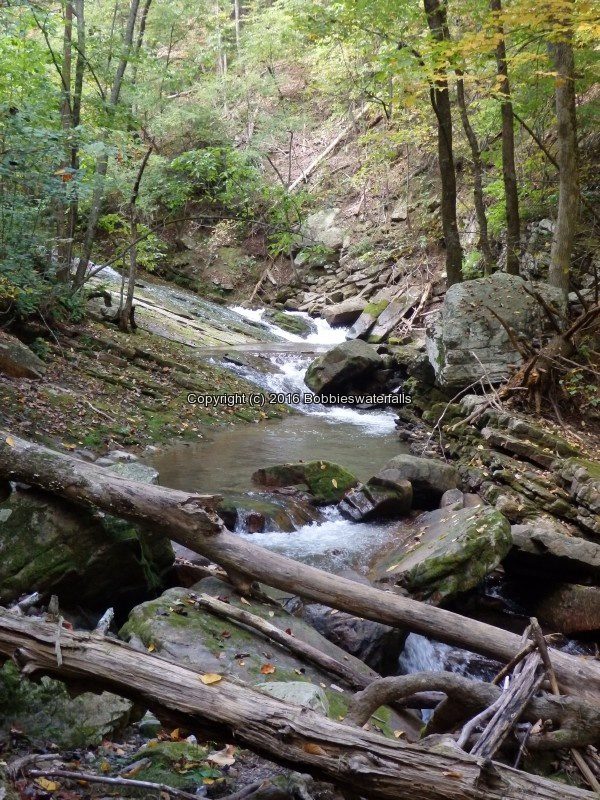
Roaring Run 1st Bridge to 2nd Bridge_00011.JPG (Bobbie Sweeting)

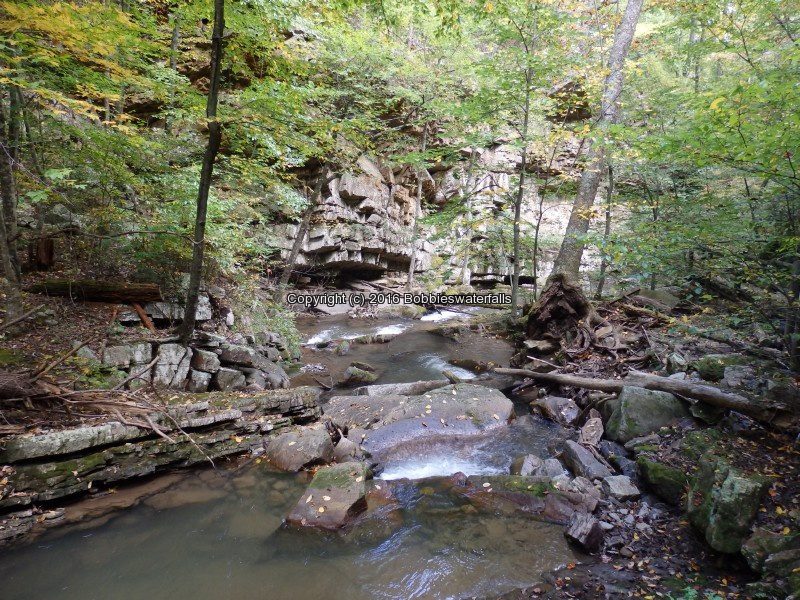
Roaring Run 1st Bridge to 2nd Bridge_00012.JPG (Bobbie Sweeting)


Roaring Run 1st Bridge to 2nd Bridge_00013.JPG (Bobbie Sweeting)

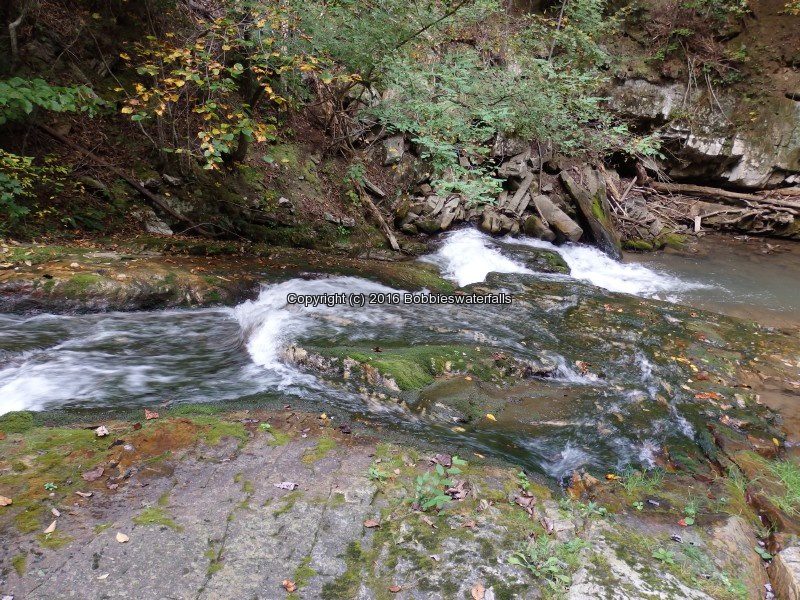
Roaring Run 1st Bridge to 2nd Bridge_00014.JPG (Bobbie Sweeting)


Roaring Run 1st Bridge to 2nd Bridge_00015.JPG (Bobbie Sweeting)


Roaring Run 1st Bridge to 2nd Bridge_00016.JPG (Bobbie Sweeting)

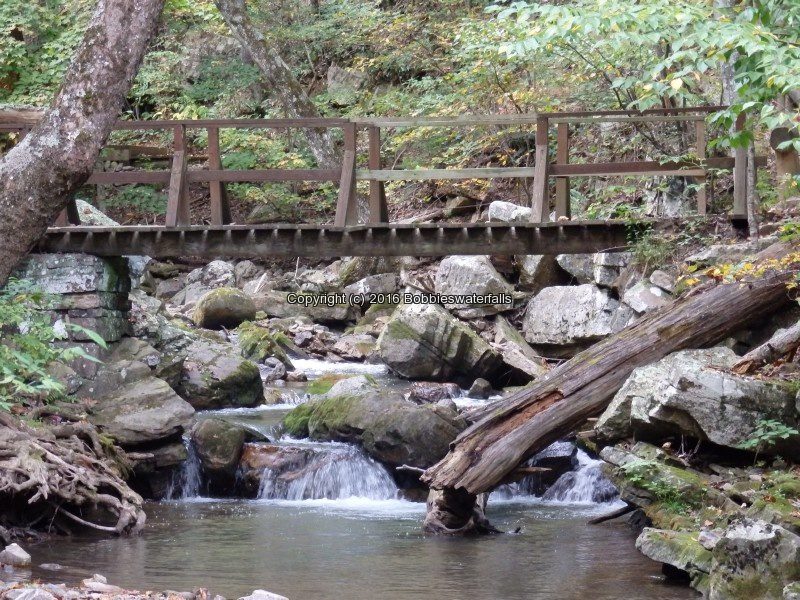
Roaring Run 1st Bridge to 2nd Bridge_00017.JPG (Bobbie Sweeting)


| Original content here is published under these license terms: | X | |
| License Type: | General Public License | |
| License Abstract: | The GNU General Public License is a free, copyleft license for software and other kinds of works. You may re-publish the content (modified or unmodified) providing the re-publication is itself under the terms of the GPL. | |
| License URL: | http://www.gnu.org/licenses/gpl.html | |